

Fresh, Professional Interior Painting for Your Las Vegas Home
Your home’s interior should look as good as it feels. If you are tired of scuffed walls, dated colors, or patchy touch-ups, professional interior painting can transform every room.
At 360° Painting of SE Las Vegas, we provide interior house painting tailored to homes in Southeast Las Vegas, Henderson, and surrounding Clark County communities. Our team focuses on clean lines, smooth finishes, and a well-organized process so your home looks refreshed with minimal disruption to your routine.
Beyond a simple color change, we focus on detailed interior preparation and a clearly defined painting process. Each project follows a consistent, step-by-step workflow designed to produce durable, attractive results in every room of your home.
Why Professional Interior Painting Matters
Interior paint has to handle constant daily wear, from kids and pets to cooking and entertaining. In our desert climate, sun exposure through windows can quickly fade low quality paint and make colors look tired long before they should.
Our interior painters in Las Vegas focus on durability and appearance, using premium paints and detailed preparation. The result is a finish that holds up to life in your home and keeps looking great, season after season.
With professional interior painting, you can:
• Update outdated colors with a modern, cohesive palette
• Brighten dark rooms and make spaces feel larger and more inviting
• Cover stains, marks, and patchwork so walls look smooth and consistent
• Protect surfaces from everyday wear, cleaning, and sunlight
• Add value and appeal if you plan to sell or rent your property
Whether you are refreshing a single room or repainting your entire home, we help you choose the right products and finishes for how you actually live in the space.
Detailed Interior Prep for Long-Lasting Results

A quality interior paint job starts long before the first coat goes on the wall. Proper preparation is what allows paint to adhere, level out, and resist peeling, cracking, or premature wear. Our team follows a thorough, step-by-step prep process for each room so the finished result looks consistent from corner to corner.
While the exact steps can vary based on your home’s condition and surfaces, a typical interior preparation process may include the following stages.
1. Initial Walkthrough and Planning
Before any work begins, we:
- Walk each room with you to review surfaces, existing paint conditions, and problem areas.
- Confirm the scope of work, including which walls, ceilings, doors, and trim will be painted.
- Discuss any repairs you want addressed, such as nail pops, minor cracks, or previous patchwork.
- Confirm color selections, sheen levels, and any accent walls or specialty finishes.
This planning step ensures that expectations are clear and that our team is prepared with appropriate primers, tools, and materials for your specific project.
2. Room Preparation and Protection
Protecting your belongings and surfaces is a core part of our process. Before we touch the walls, we:
- Ask that small personal items, electronics, and valuables be removed from the work areas.
- Carefully move larger furniture away from walls when possible, placing it toward the center of the room.
- Cover furniture and other items with clean plastic sheeting to protect them from dust and paint.
- Lay down drop cloths or protective coverings over flooring, including carpet, hardwood, tile, and stairs.
- Mask or tape off areas that are not to be painted, such as certain fixtures, hardware, or built-in surfaces.
This level of protection helps keep your home clean and minimizes the amount of daily disruption during the project.
3. Surface Cleaning and Evaluation
Paint adheres best to clean, sound surfaces. Before we begin any repairs or sanding, we:
- Wipe down walls and trim in areas with visible dust, cobwebs, or grease (such as kitchens and high-traffic hallways).
- Address localized stains, such as smoke marks, water streaks, or handprints, so they do not bleed through the new paint.
- Inspect for peeling or flaking paint, hairline cracks, nail holes, and previous patches that may need refinement.
By taking time to evaluate the surfaces, we can choose the right repair and priming methods for each area.
4. Minor Repairs and Surface Smoothing
Even newer homes typically have small imperfections that become more noticeable once new paint goes on the walls. Our interior prep process can include:
- Filling small nail holes, picture hanger holes, and minor dings with appropriate patching compounds.
- Addressing light cracks along seams, corners, or around windows and doors, where normal settling can occur.
- Feather-sanding existing patches to blend them smoothly into surrounding surfaces.
- Lightly sanding glossy or uneven areas to promote adhesion and to help the finish look consistent.
- Checking trim and baseboards for gaps where walls and woodwork meet, then caulking as needed for a clean, finished appearance.
We focus on creating a uniform surface so that once paint is applied, the eye is drawn to the color and finish, not to flaws or irregularities underneath.
5. Priming and Spot Priming
Priming is an important step for long-lasting results, especially when dealing with repairs, stains, or drastic color changes. Depending on your project, we may:
- Spot prime repaired areas where spackle, joint compound, or patching materials were used.
- Prime over stains that could bleed through, such as water marks, smoke stains, or heavy scuffs.
- Use bonding primers on slick or previously glossy surfaces that require extra adhesion.
- Apply full-coverage primer coats when changing from very dark to light colors or when recommended by the paint manufacturer.
Completing this preparation work helps ensure that the final coats of paint look even in color and sheen throughout the room.
6. Final Prep Check Before Painting
Before we begin applying paint, we perform a final check, which can include:
- Reviewing all taped edges, masked surfaces, and protected areas to verify coverage.
- Ensuring repairs are smooth to the touch and fully dry.
- Confirming colors and sheens one more time, especially for trim versus walls and ceilings.
- Addressing any last-minute questions you may have about the day’s work or sequence of rooms.
Once this checklist is complete, our team is ready to move into the painting phase.
Our Interior Painting Process
After preparation is complete, we follow a structured painting process designed to deliver smooth, consistent results. We select premium interior paints for performance and appearance, and in Southeast Las Vegas and Henderson, we often recommend products designed to resist fading in rooms with intense natural light and to stand up to busy households.
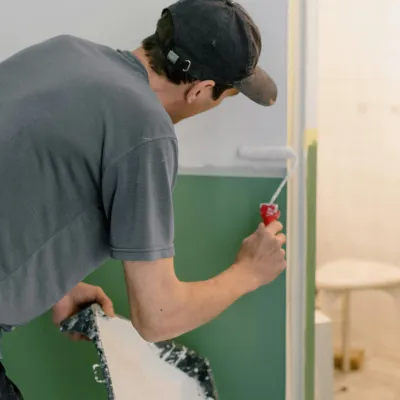
1. Cutting in and Edging
We start by carefully cutting in around:
- Ceilings and wall intersections
- Inside and outside corners
- Window and door frames
- Baseboards, casings, and other trim details
- Built-in features such as niches or shelving
Using brushes and steady techniques, we create crisp, straight lines that define the transitions between surfaces. This step is essential for a professional-looking finish and ensures that rolling can proceed efficiently without missing tight areas.
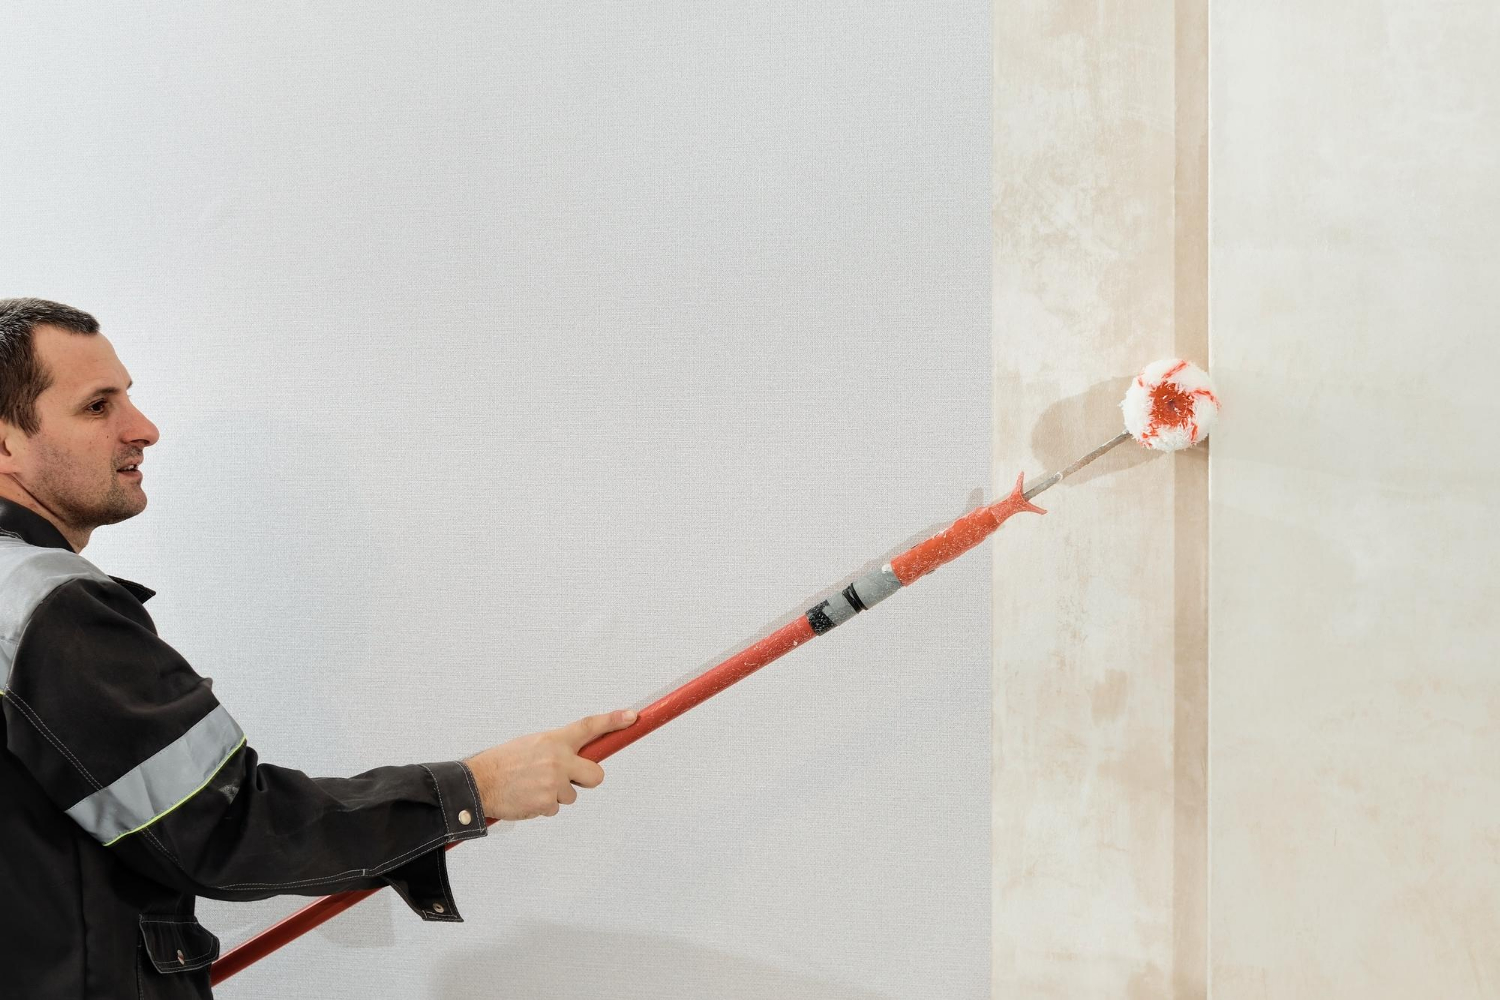
2. Rolling Walls and Ceilings
Once the edges are established, we move on to rolling broader surfaces:
- We select roller covers appropriate for the texture of your walls and ceilings, helping achieve a smooth, even finish.
- Paint is applied in controlled sections, working in a consistent direction to reduce lap marks and roller lines.
- We maintain a "wet edge" as much as possible, meaning we work methodically so that one painted area blends seamlessly into the next.
For ceilings, we typically complete these first, followed by walls, so any minor splatter can be addressed before final wall coats are finished.
3. Applying Additional Coats for Full Coverage
Many projects require more than one coat for full, uniform coverage, particularly when:
- Transitioning from dark colors to light tones.
- Using certain vibrant or deep hues that need multiple coats to reach their true color.
- Covering uneven existing paint or patchwork.
We allow appropriate drying time between coats based on product recommendations and room conditions. Only after the paint has dried do we evaluate whether additional coverage is needed.
4. Painting Trim, Doors, and BaseboardS
Trim work is often the final detail that completes an interior painting project. As part of your scope, we can paint:
- Baseboards and shoe molding
- Window and door casings
- Interior doors and door frames
- Crown molding and decorative trim
We typically use durable, easy-to-clean finishes for trim so that high-contact areas like doors and baseboards resist scuffs and can be wiped down without dulling the sheen.
5. Touch-Ups, Detailing, and Cleanup
Once the primary coats are complete, we:
- Inspect walls, ceilings, and trim under normal lighting to identify any thin spots or minor imperfections.
- Address touch-ups with care so they blend into surrounding areas.
- Remove tape carefully to preserve sharp lines between colors and surfaces.
- Collect drop cloths, plastic sheeting, and masking materials.
- Return furniture to appropriate positions, as agreed upon in the project scope.
Our goal is to leave your home neat, with clearly labeled touch-up paint (if provided) and rooms ready to use.
6. Final Walkthrough and Review
At the end of the project, we invite you to walk through the completed spaces with us. During this walkthrough, we:
- Review each painted area with you to confirm that colors, sheens, and coverage meet expectations.
- Address any questions or small items you notice while viewing the fresh paint from different angles.
- Explain any specific care instructions for new paint, such as recommended cure times before washing walls.
This final step ensures that you are fully satisfied with the work before we consider the project complete.
Interior Painting Options for Your Whole Home
360° Painting of SE Las Vegas can handle a wide range of interior spaces and surfaces within your home. Projects often include:
- Living rooms, family rooms, and great rooms
- Kitchens and breakfast areas
- Bedrooms and guest rooms
- Bathrooms and laundry rooms
- Hallways, stairways, and entry areas
- Home offices, flex rooms, and bonus spaces
- Interior doors, trim, and baseboards
- Select interior masonry or accent walls, where appropriate
For homeowners across Clark County, interior painting can also coordinate with cabinet painting or exterior painting to create a unified, updated look throughout your property. We can help you think through how colors flow from room to room, particularly in open-concept layouts common in many Las Vegas homes.
Choosing the Right Paint Sheen and Products
Because different rooms experience different types of activity, we help you match products and finishes to each space. During your estimate and planning, we can discuss:
- Matte and flat finishes for ceilings or low-traffic walls where you want to minimize surface imperfections.
- Eggshell and low-sheen finishes for most living spaces, providing a balance of washability and soft appearance.
- Satin and semi-gloss finishes for trim, doors, kitchens, and bathrooms where durability and cleanability are priorities.
- Specialty products for high-moisture areas or rooms with intense sunlight exposure.
In our desert climate, we pay particular attention to how natural light shifts throughout the day and how that affects the appearance of both color and sheen.
Why Choose 360° Painting of SE Las Vegas
When you invite a painting company into your home, you want a team that communicates clearly and respects your space. We focus on detailed planning and open communication so you know what will happen and when.
Interior projects are scheduled with your routine in mind, and we work to reduce disruption as much as possible. Our detailed written agreements outline the scope of work, surfaces being painted, and products used, so expectations are clear from the beginning.
As local interior painters in Las Vegas, we understand how our desert light affects color choices and how daily life in Southeast Las Vegas and Henderson homes impacts paint performance. Our goal is to deliver a finish that looks great on day one and continues to look good as you live in the space.
Interior Painting FAQs
How Long Does a Typical Interior Painting Project Take?
Project length depends on the size of your home, the number of rooms, and the condition of your walls. Smaller projects may be completed in a short time frame, while whole-home repaints take longer. We provide a clear timeline before work begins so you know what to expect, and we can discuss phasing work room by room to fit your schedule.
Do I Need to Move All My Furniture Before Painting Starts?
We ask that small items and valuables be removed from the work areas. Larger furniture can often be moved away from walls and protected with coverings. We will review this with you during the estimate so you know how to prepare and can plan for any special items or fragile pieces.
What Type of Paint Do You Use Inside Homes?
We use quality interior paints appropriate for residential spaces, selected for good coverage and durability. During your estimate, we can discuss paint options, sheen levels, and which products make sense for high-traffic rooms, kids’ spaces, or more formal areas. When requested, we can also review low-VOC or specific product lines recommended for sensitive environments.
Can You Help with Color Selection?
We can offer guidance on choosing colors that work with your lighting, flooring, and existing finishes. Many Las Vegas homeowners prefer palettes that keep spaces bright while still feeling comfortable. We are happy to discuss options, consider how colors flow from one room to the next, and help you narrow down choices to a cohesive interior scheme.
How Should I Care for Newly Painted Walls?
After your project is complete, we generally recommend allowing the paint to fully cure before washing or scrubbing surfaces. We can provide basic care guidelines based on the specific products used in your home, including how to address minor marks and which cleaning methods are safe for your new finish.
How Do I Get Started with Interior Painting?
The first step is a professional estimate. We review your space, listen to your goals, and outline a detailed plan and scope of work. From there, we schedule your project, confirm colors and products, and keep you updated at each stage, from preparation through final walkthrough.
To refresh your home with professional interior painting, request a Free Estimate from 360° Painting of SE Las Vegas and learn how we can update your space with a clean, durable finish that is tailored to your home and lifestyle.
Get Started With Your Project Today
Let 360° Painting of SE Las Vegas bring fresh color and lasting quality to your home with our experienced interior painters in Las Vegas. Tell us about your project and we will provide a detailed, no-obligation estimate and timeline, or you can contact us now to schedule your interior painting consultation.
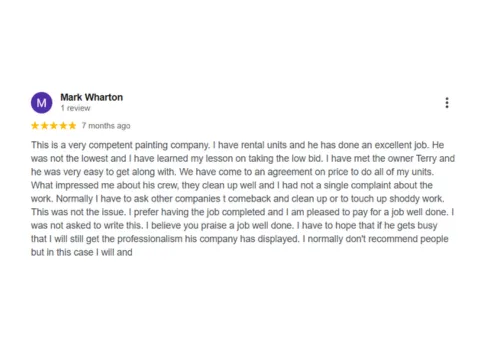
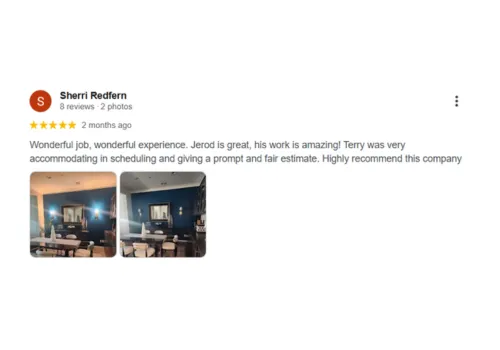
TESTIMONIALS
What our clients are saying:

© Copyright 2026. 360 painting of SE Las Vegas. All Rights Reserved.